Published Sep 12, 2024
Expense management: Configuring and automating flows
How to sync expense reports and attach receipts between your expense management system and ERP.

Expense management is the process of tracking and controlling employee-initiated expenses, such as travel and office supplies, to ensure they comply with company policies. It involves submitting, approving, and recording expenses for reimbursement and financial reporting. However, organizations often experience system fragmentation in expense management when using multiple disconnected systems. This creates isolated data pockets, or “data silos,” making it harder to maintain a clear view of expenses.
Expense management automation solves this issue by integrating expense systems with accounting software, reducing manual data entry, improving accuracy, and providing better visibility into spending. This streamlined approach breaks down data silos, ensures compliance, and helps businesses make more informed financial decisions.
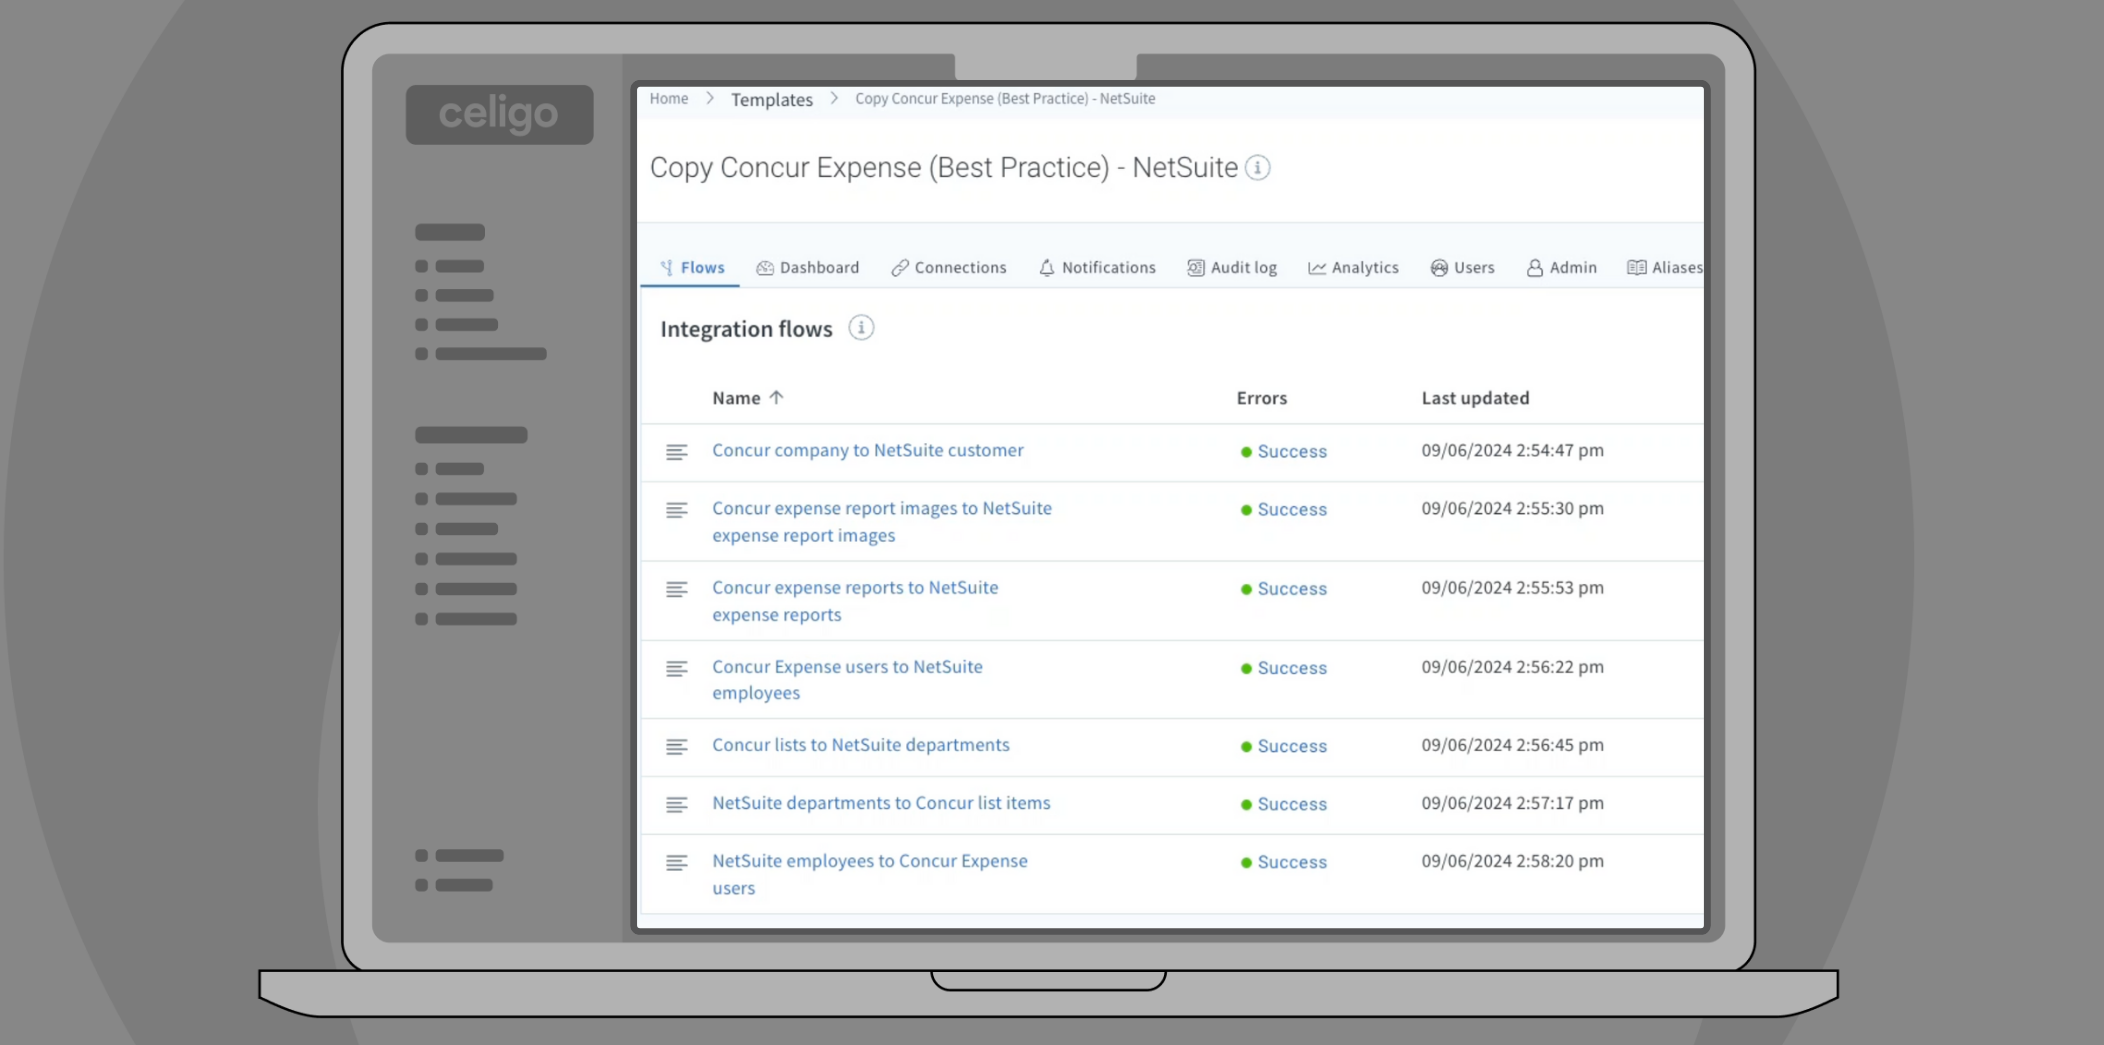
In this post and video, we’ll walk through the process of building an automated expense management process. Here, we’ll sync expense reports and their associated images, such as receipts, between an expense management system and an ERP system.
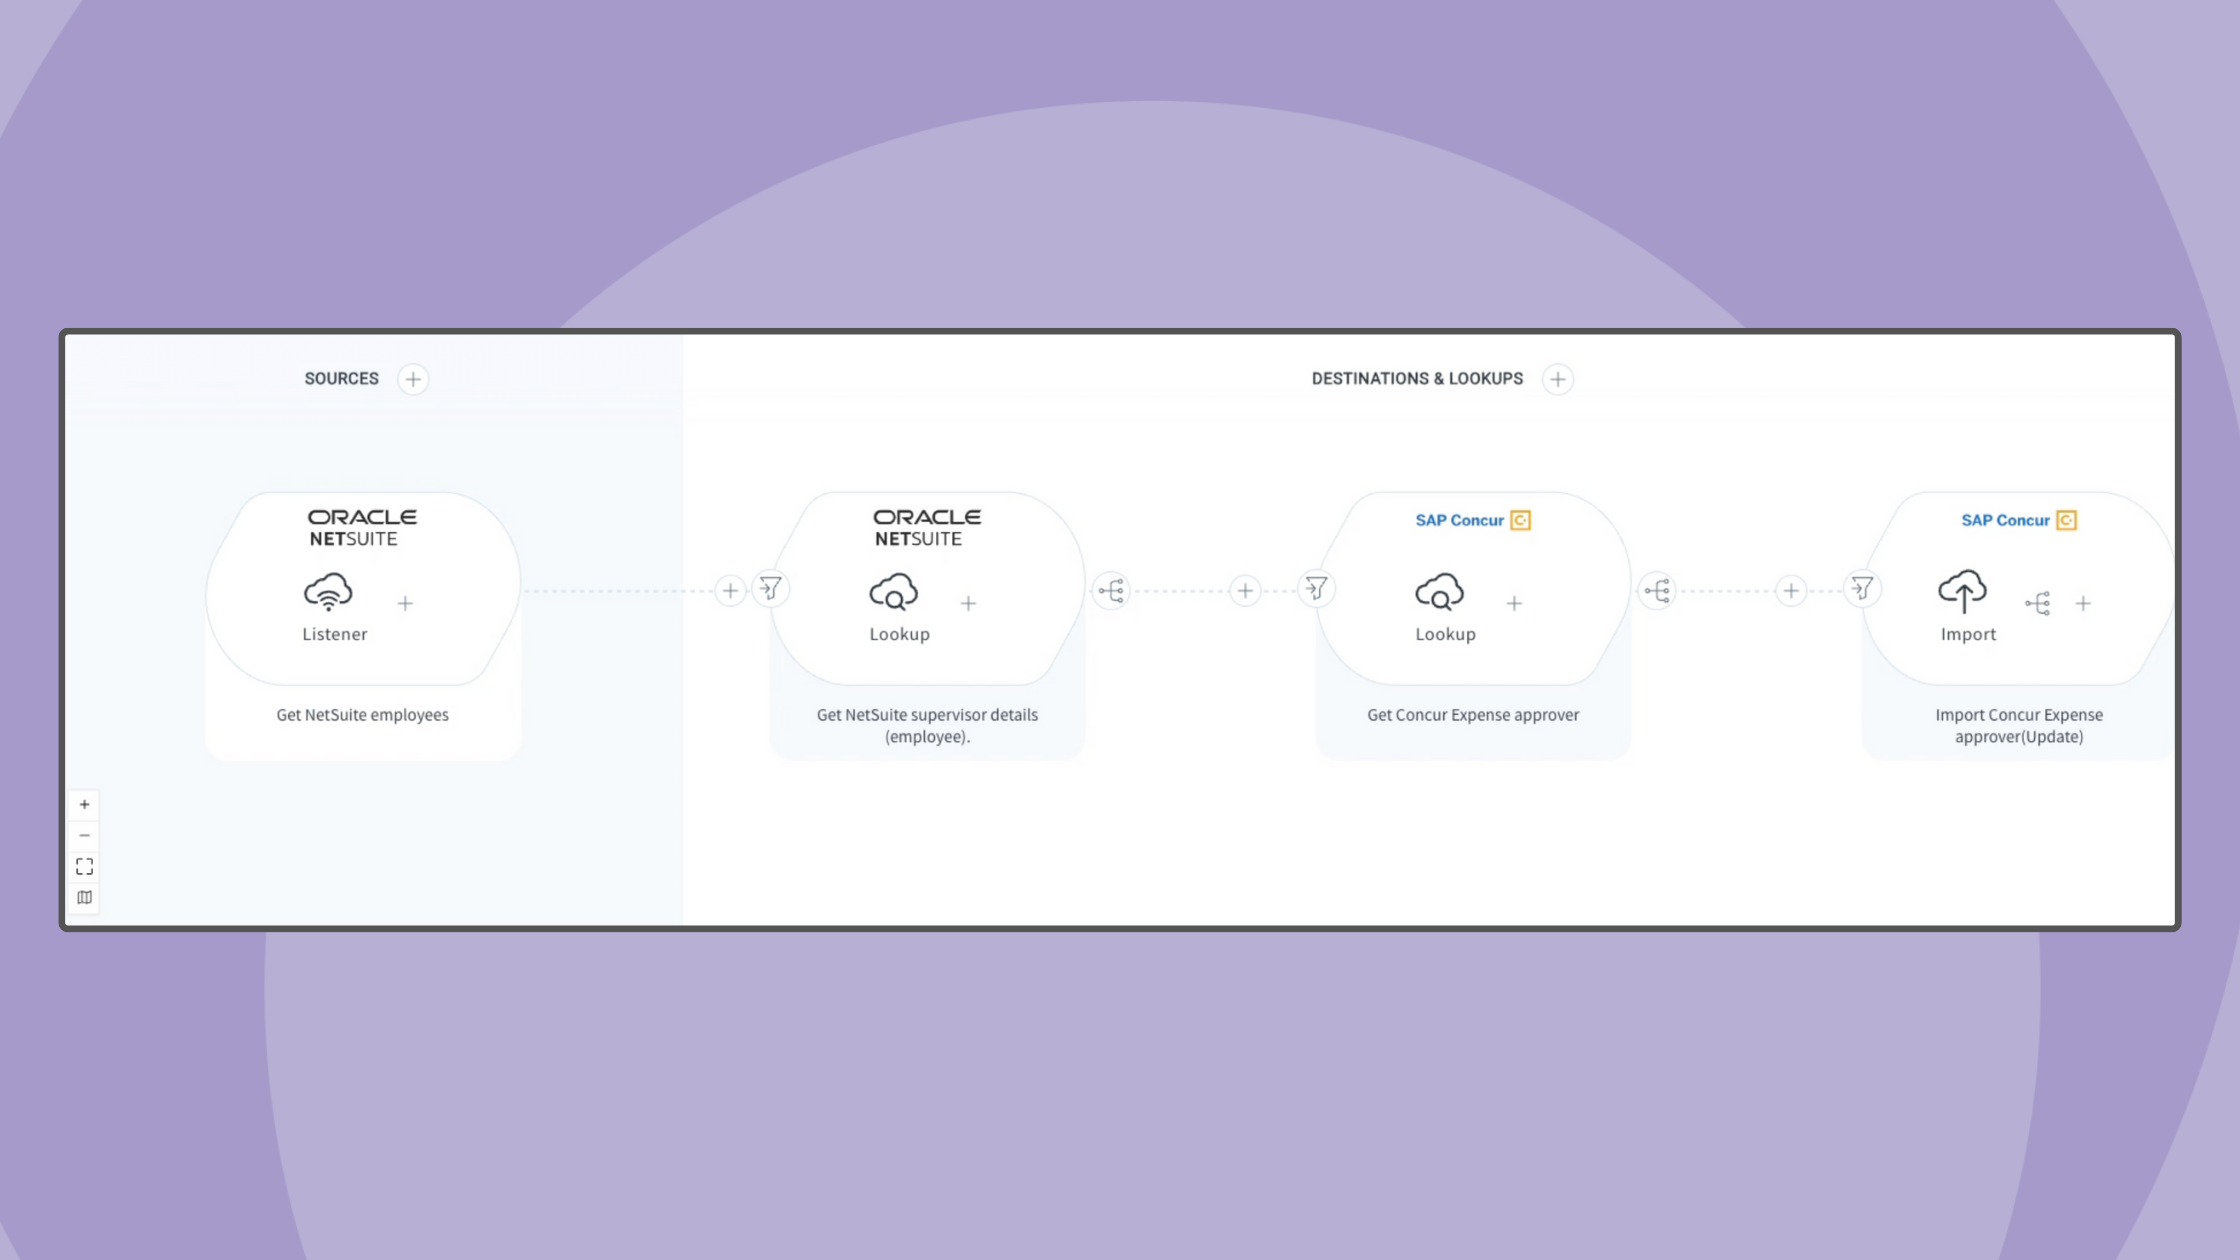
In this example, we’ll focus on syncing employee information from NetSuite to Concur Expense in real-time. We’ll use NetSuite and Concur as examples, but you can connect with any system your company uses.
Getting started with expense management automation
We have three videos in this series and recommend watching them in sequence:
- An introduction to expense management
- Expense management admin setup
- Then, this video on configuring and automating expense management flows
To ensure accuracy and reduce errors, it’s crucial to sync all related data, such as employee information, before syncing reports and images. Confirm that the expense reports are already present in both systems before proceeding with syncing images.
Configuring flows demo video
We will begin by syncing the expense reports, followed by syncing associated images and receipts.
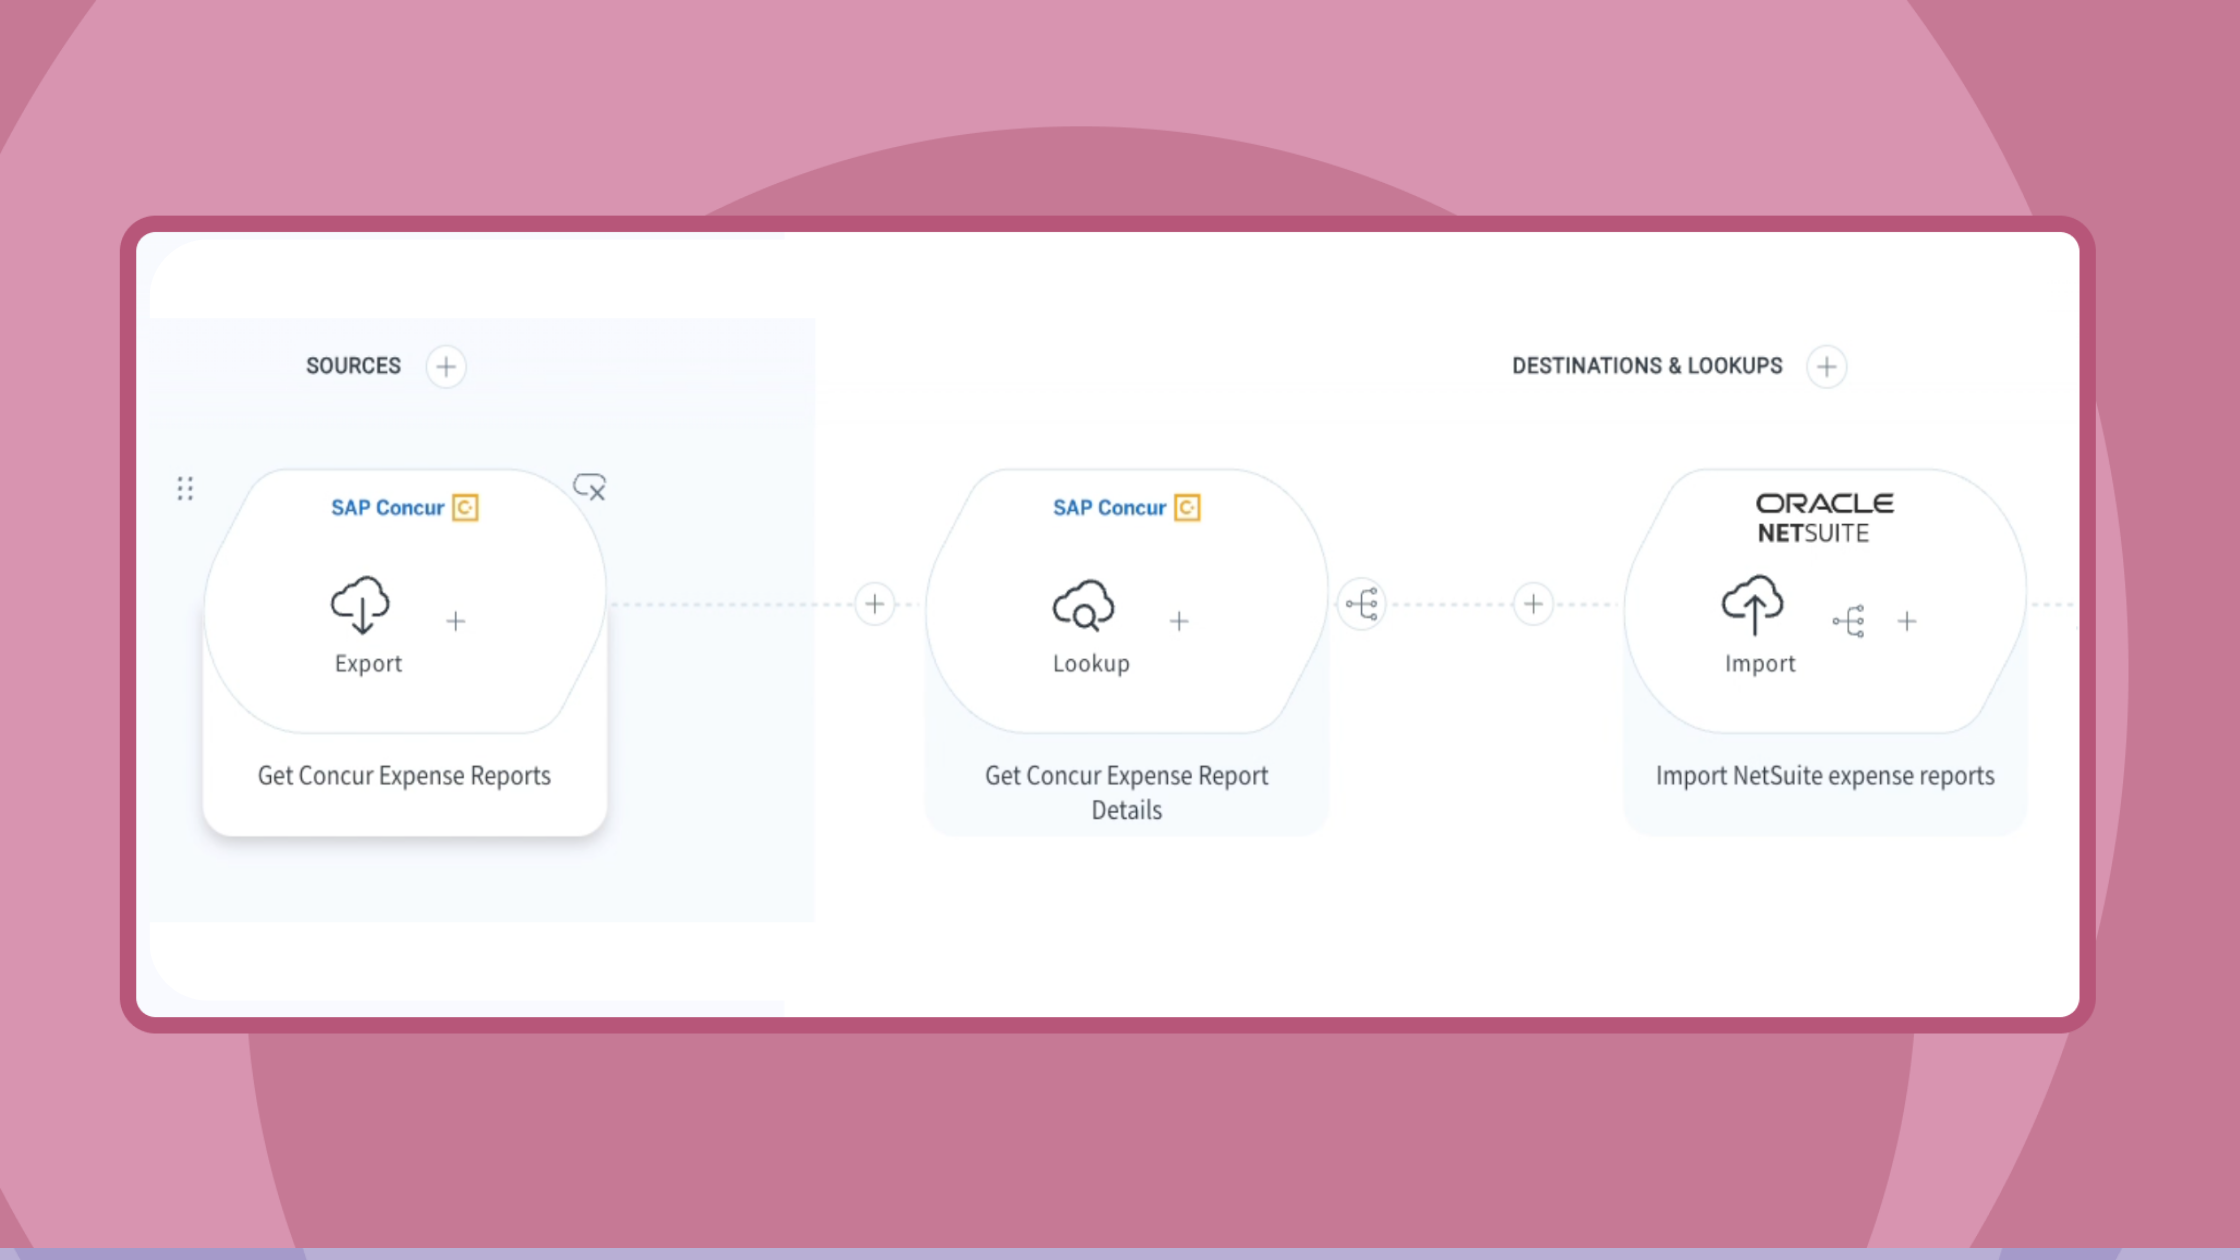
Export expense reports from your expense management system
- Export the reports: Begin by exporting expense reports from your expense management system (e.g., Concur).
- Set API details: Ensure that the API name and endpoint are correct.
- Set export type to ‘delta’: This ensures only the modified reports since the last flow run will be captured.
- Perform a lookup: Use the report ID as the identifier to retrieve details for the exported reports.
- Store the data: Save the report details for use in the next step (importing into NetSuite).
Import expense reports into NetSuite
- Set record type: For the import step, configure the record type to ‘expense report’.
- Set operation to ‘add’: This ensures new expense reports are created in NetSuite.
- Map key fields: Match the report ID to the external ID field in NetSuite, and map fields such as:
- Employee name
- External report ID
- Currency
- Itemized reports: For itemized expense reports, map additional fields such as:
- Expense category
- Amount
Sync associated images and receipts
After the expense reports have been synced, the next step is to sync the associated images (e.g., receipts).
- Export reports again: Perform another export of the expense reports using the same API settings, and ensure the export type is set to delta.
- Perform a lookup: Gather the report details again and store them for future steps.
- Retrieve entry image ID: Apply an input filter to process only the records that have an entry image ID.
- Lookup receipt image: Retrieve the receipt image and image URL using the entry image ID as the identifier and store the data.
Transfer images to NetSuite
- Transfer the image: Use the image URL to transfer the file. Apply an input filter to ensure the URL exists.
- HTTP ‘get’ method: The file transfer uses the HTTP ‘get’ method with the image URL as the relative URI to Concur.
- Store the result: Save the transferred image for the next step.
Store and attach images in NetSuite
- Store image in file cabinet: In NetSuite, store the image in the file cabinet. The file transfer operation should be set to ‘add’. Use a custom file name, such as a timestamp.
- Include folder internal ID: Ensure the correct file cabinet folder is used by specifying the internal ID.
- Confirm upload: Verify that the image was successfully uploaded to NetSuite.
Attach images to the corresponding expense reports
- Attach the images: Attach the images stored in the file cabinet to their corresponding expense reports in NetSuite.
- Ensure file ID exists: Ensure the file ID exists and isn’t empty before proceeding.
- Set record type: Set the record type to ‘expense report’ and the operation to ‘attach’.
- Map fields: Map the image to the correct expense report by using the report ID and file ID.
Automate your expense management processes
By following these steps, you’ll ensure that both your expense reports and their associated images are accurately synced between your expense management system and NetSuite. This process minimizes errors and streamlines your expense management workflow, helping you maintain accurate and efficient reporting across all systems.
Ready to optimize your expense management process? Explore the Celigo Marketplace to find the connectors and templates that best suit your needs.
Explore Builder’s Hub for more details on configuring integrations, best practices, advanced automation use cases, and the latest features.
Integration insights
Expand your knowledge on all things integration and automation. Explore our resources, learn from experts, and elevate your building expertise.


